Why Restoring Classic Herringbone Floors Adds Timeless Elegance
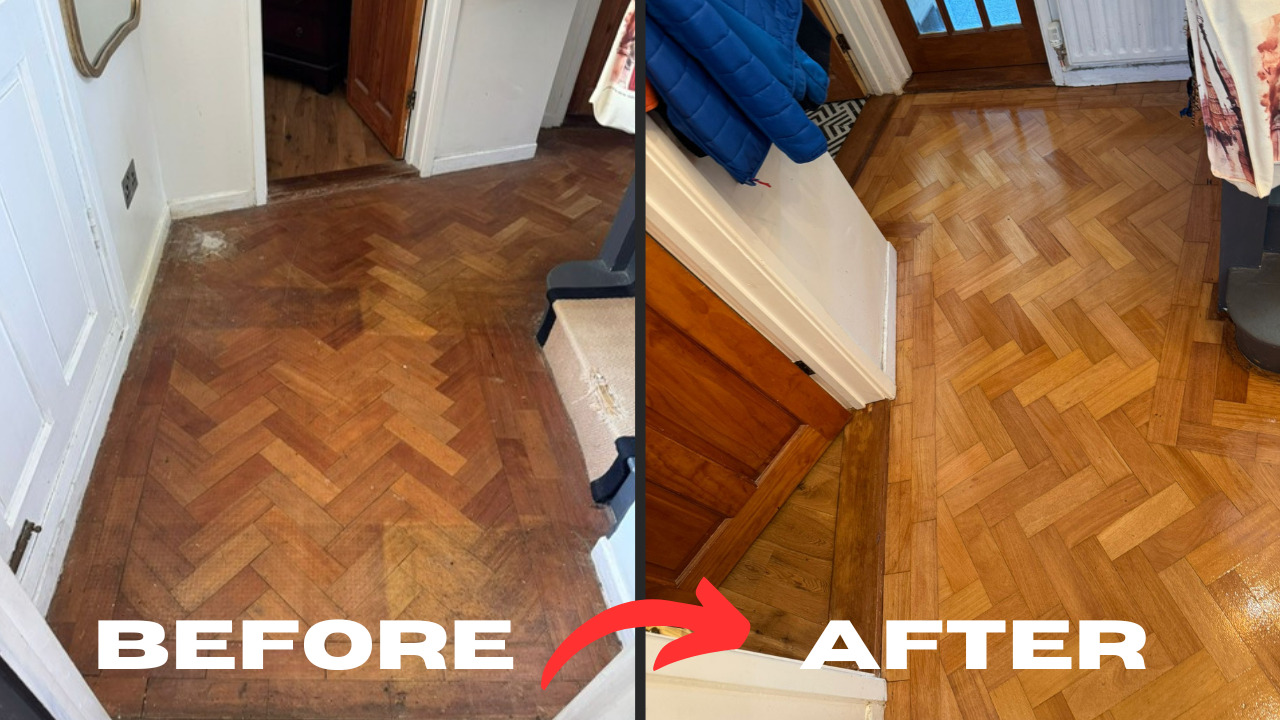
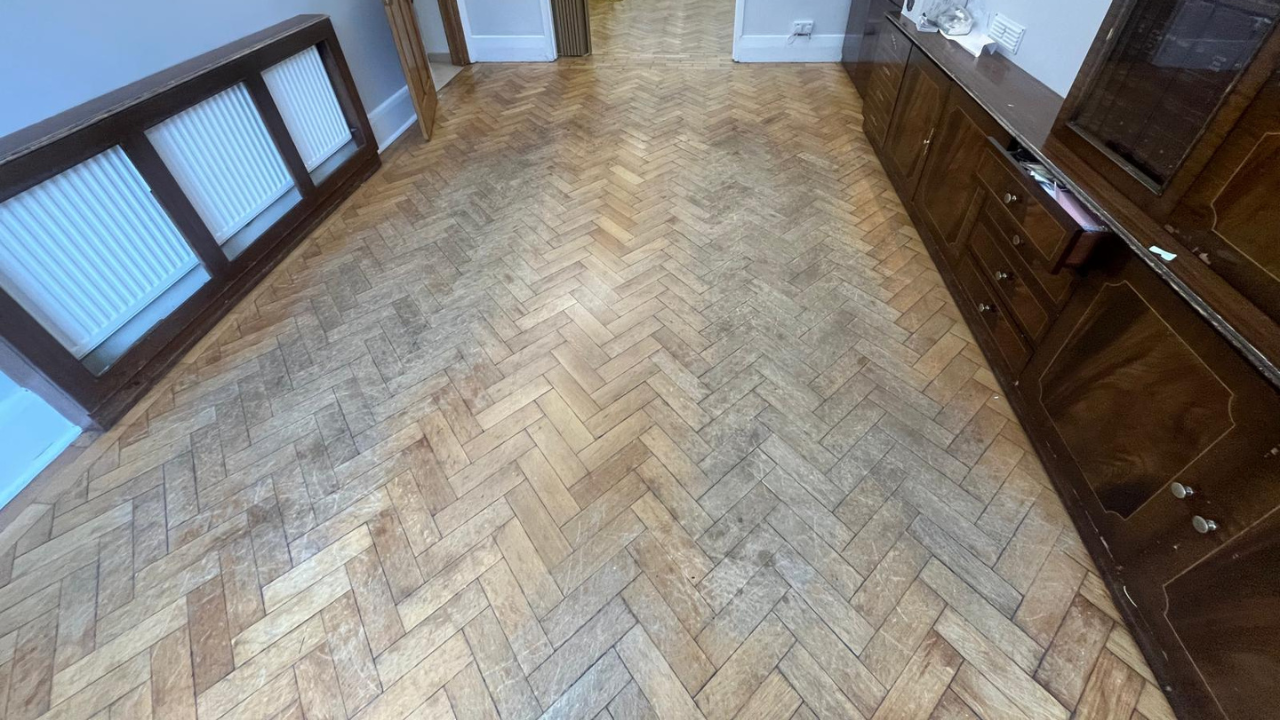
Few flooring styles command instant admiration like a well-laid herringbone parquet. The chevron-like geometry, the play of light across alternating grain, and the quiet nod to centuries-old craftsmanship make it a perennial favourite in Rainham’s Victorian terraces and modern loft conversions alike. Yet even hardwood heroes succumb to decades of footfall, furniture scrapes, and the occasional party mishap. When your once-glorious parquet begins to look more tragic than timeless, expert Restoring Classic Herringbone is the cure that brings every block back to life.
1. The Enduring Allure of Herringbone Parquet
Herringbone isn’t simply another pattern; it is a cultural artefact. Roman engineers used the interlocking V-shapes to stabilise brick roads; 16th-century French palace architects introduced oak parquet de Versailles, and Georgian Britain embraced it in stately ballrooms. The staggered, perpendicular layout disperses weight evenly, minimising lateral movement—remarkably clever for a design conceived long before engineered boards or moisture meters existed.
Because each block alternates direction by 90°, a properly sanded herringbone scatters reflections, delivering depth a straight-lay plank can only envy. The downside? Any imperfection—cupping, chatter marks, degraded finish—becomes twice as obvious. That is why Restoring Classic Herringbone requires more than routine drum sanding; it demands strategic planning, precision tooling, and an almost obsessive respect for the grain.
2. Diagnostic First Steps: Know What You’re Working With
Before a single abrasive strip meets the timber, assess:
- Species and thickness – Most UK parquet is oak, teak, or mahogany, 20–22 mm thick. A veneer under 4 mm may not tolerate another sanding.
- Sub-floor stability – Loose battens or bitumen residue will telegraph through a new finish.
- Moisture levels – Aim for 8–11 % relative humidity. Above 12 % invites post-refinish cupping.
- Historic coatings – Old waxes can clog abrasives; shellac may require chemical stripping first.
Skimp on diagnosis and you invite costly surprises later—like discovering deep pet stains that only full block replacement can hide.
3. Preparation: The Hidden Half of Success
Professional restorers swear that 50 % of the job happens before the sander is switched on. Key preparatory tasks include:
- Numbering or photographing loose blocks**:** Essential when lifting areas around fireplaces or radiators so each piece returns in proper sequence.
- Scraping out bitumen adhesive with tungsten blades—tedious but vital for adhesion of modern polymer glues.
- Punching or replacing nails sitting proud of the face; even a 0.5 mm projection can shred a sanding belt in seconds.
- Vacuuming twice using a HEPA system to remove grit that would otherwise create swirl marks.
Meticulous prep ensures the subsequent passes during Restoring Classic Herringbone can be lighter, faster, and far cleaner.
4. Sanding Strategy: Working With, Not Against, the Pattern
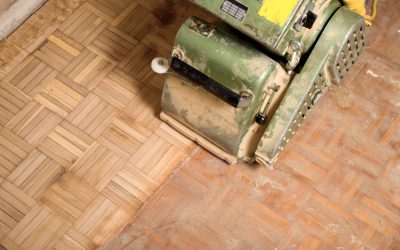
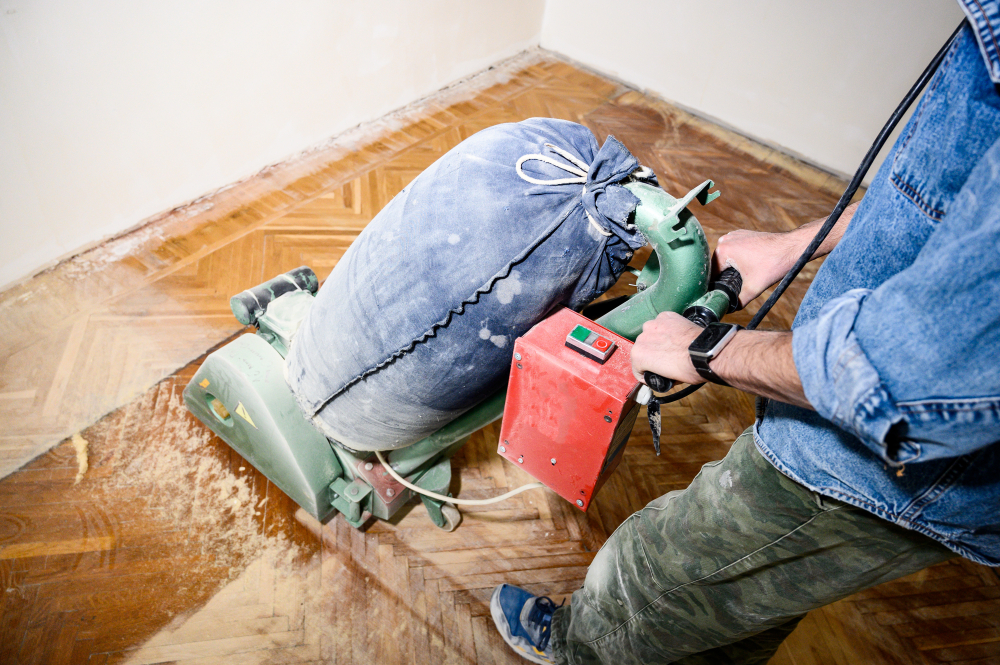
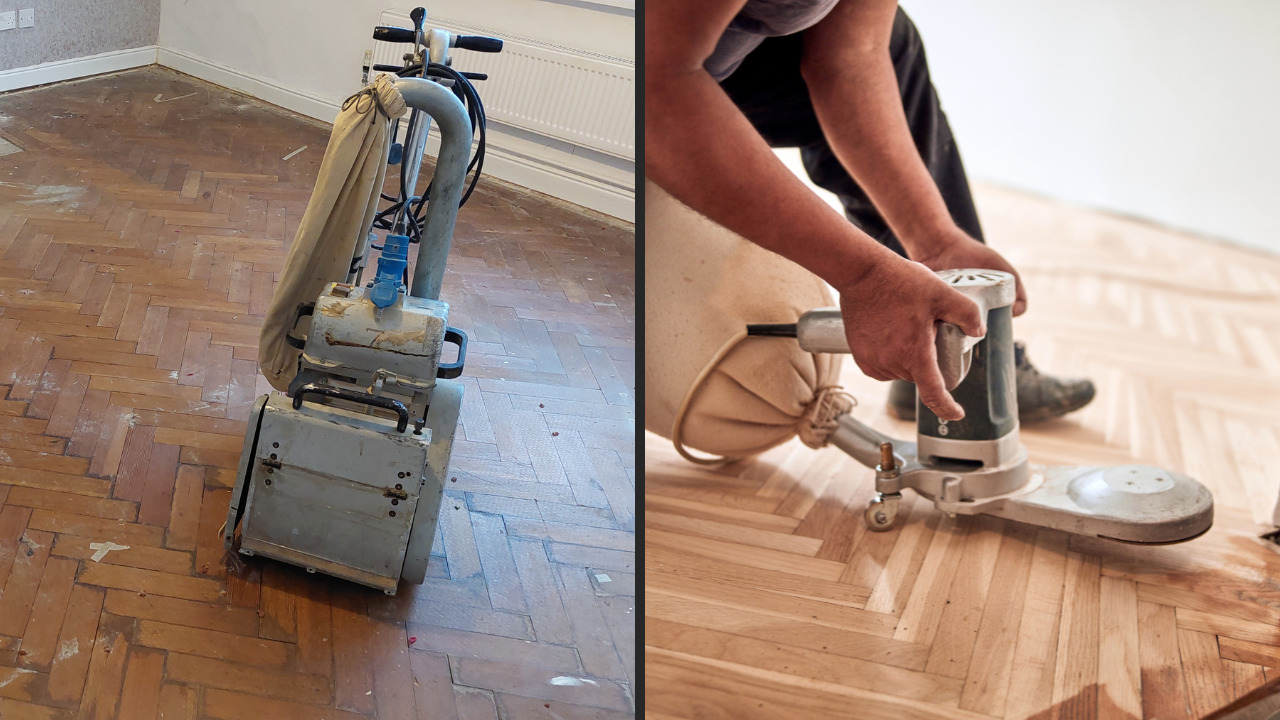
Unlike strip flooring, you cannot simply run a belt sander along the room’s length. The alternating grain means each block presents its fibres at right angles to its neighbour, so a one-directional approach leaves half the parquet rough.
Pro technique:
- 45-degree diagonal pass with 40- or 60-grit on a planetary sander removes old finish without gouging.
- Second diagonal (opposite direction) with 80-grit levels remaining ridges.
- With the grain (parallel to primary light source) using 100-grit refines.
- Edge sanding follows the same grit sequence using a tri-base edger to mirror the diagonal cuts.
Each stage is vacuumed before advancing. That diligence is why professional Restoring Classic Herringbone produces silky surfaces ready for stain, not the zebra striping common after DIY attempts.
5. Gap Filling and Block Repairs
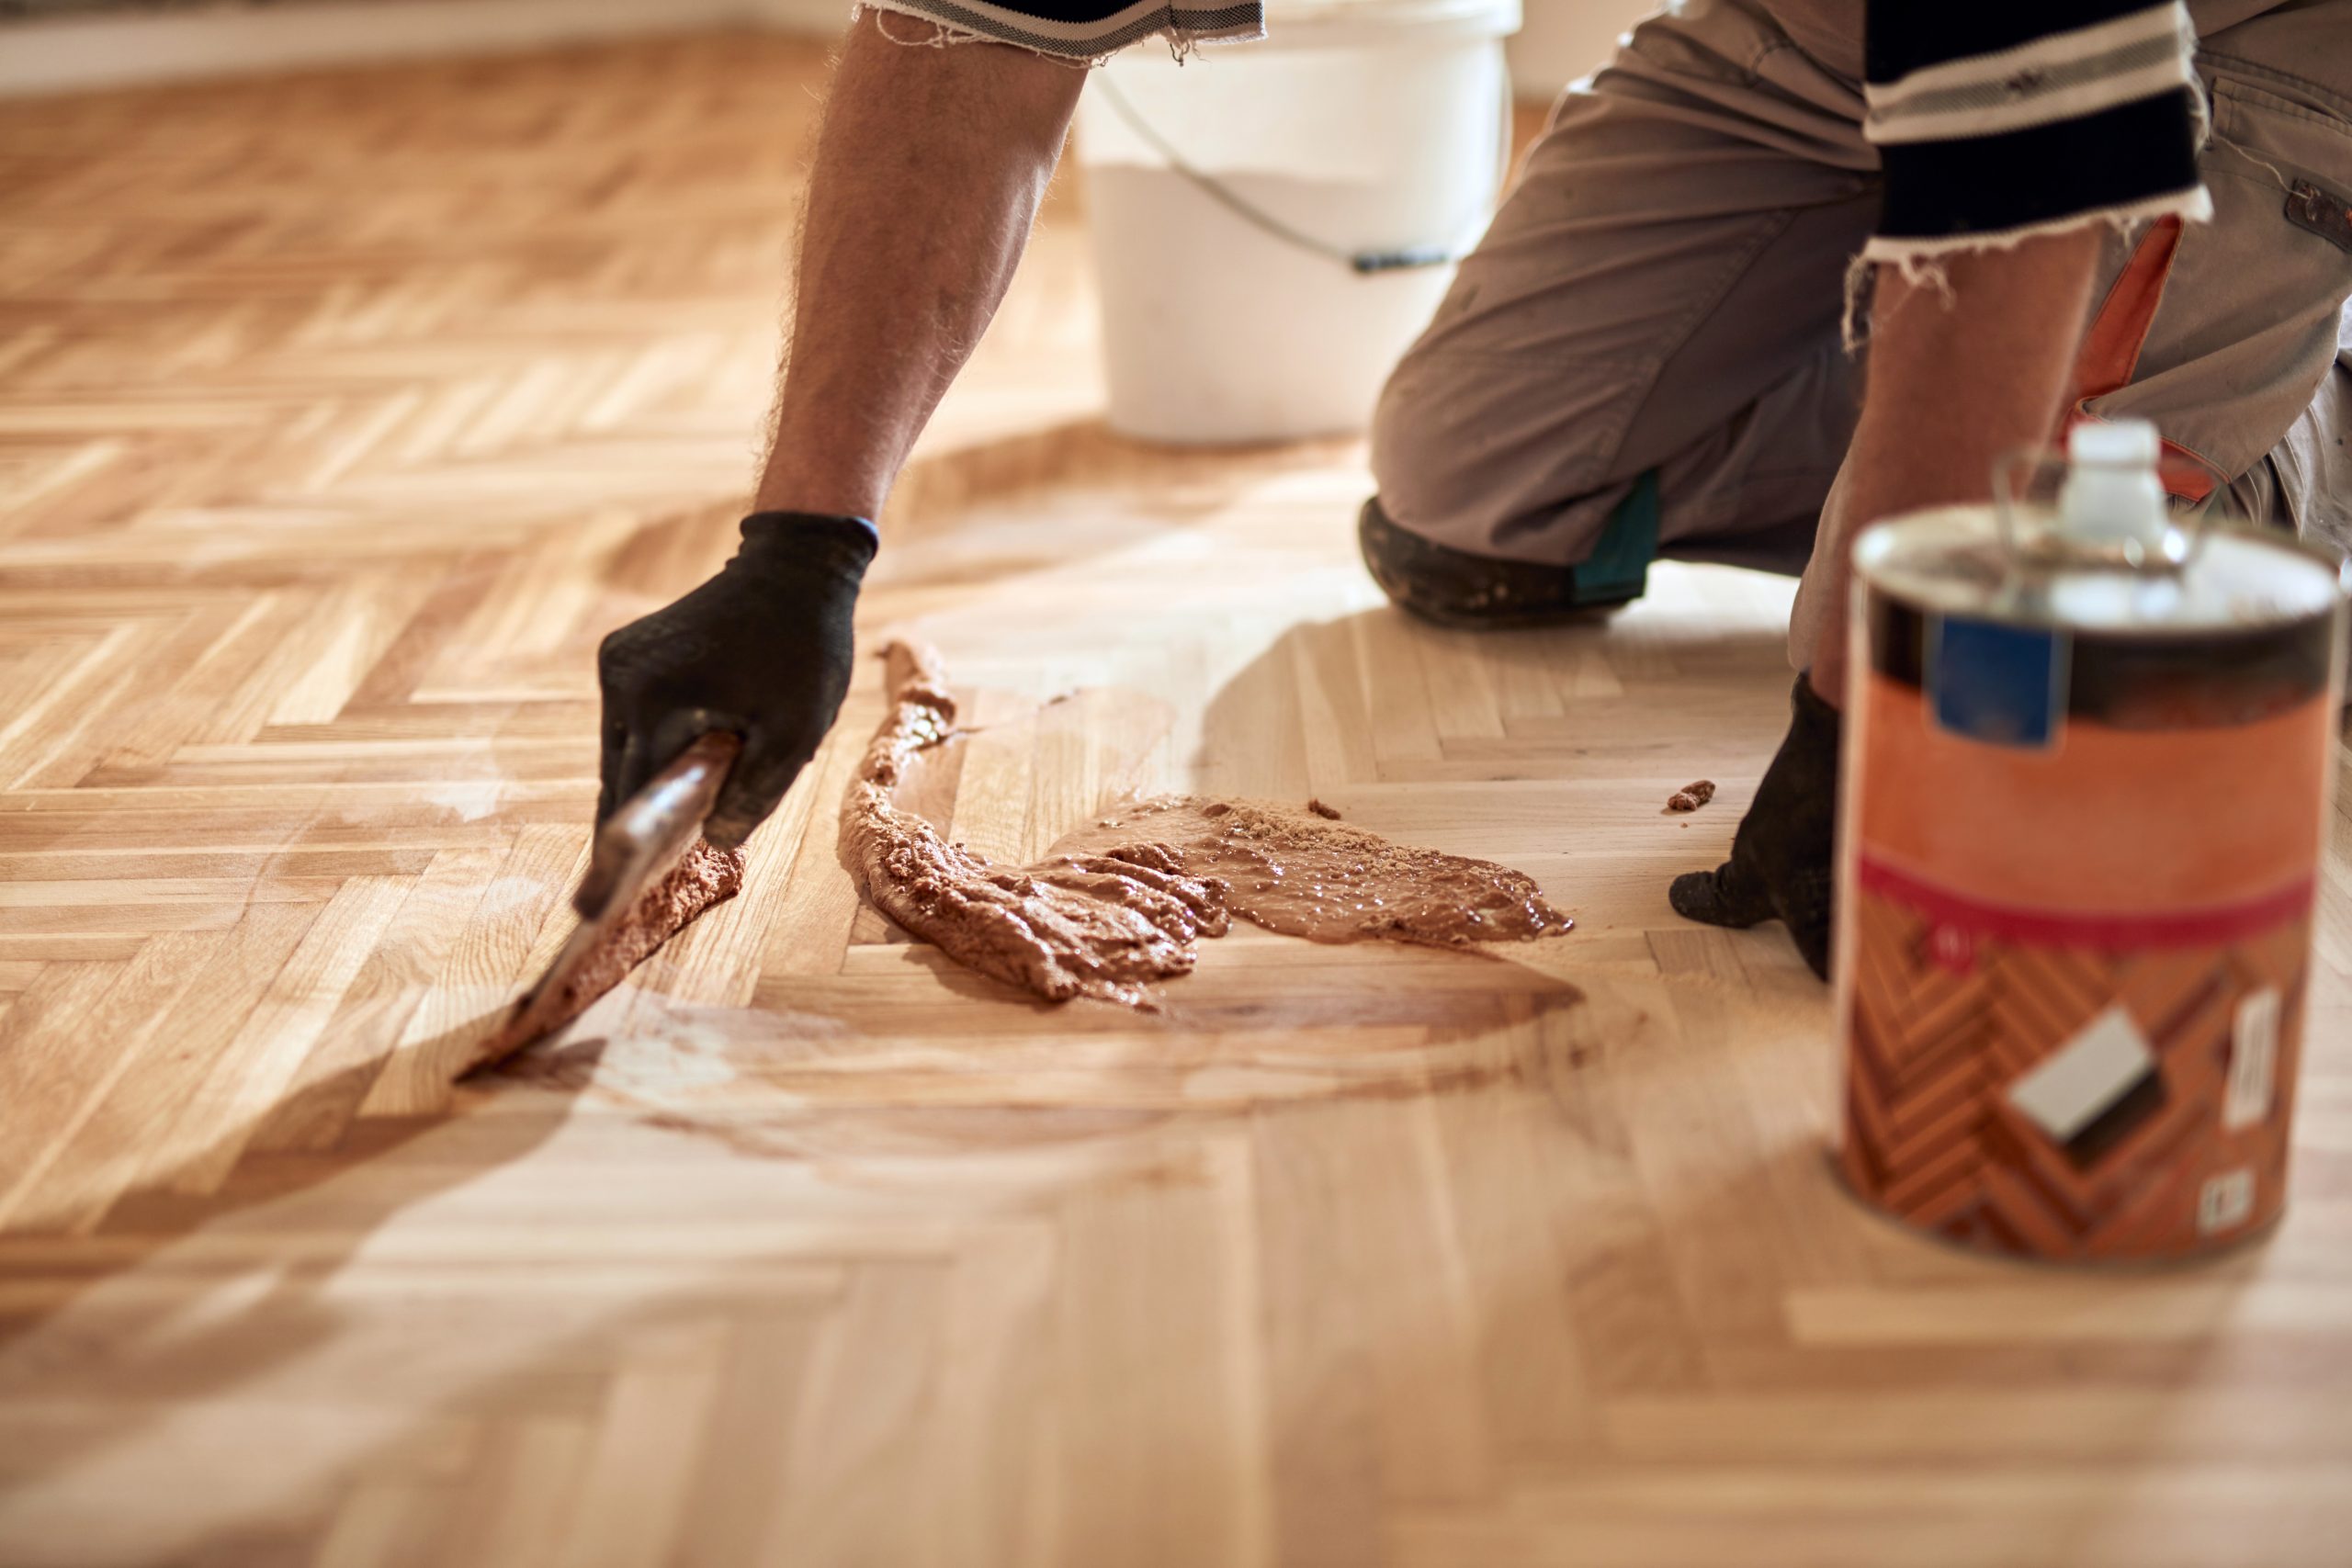
Even perfectly machined 20th-century blocks will shrink microscopically over decades, leaving slithers that collect dust. Restorers mix fine 120-grit oak dust with clear resin to create a paste matching both colour and movement characteristics of the host timber.
For missing or broken blocks:
- Reclaimed timber is preferable; modern parquet rarely matches the aged patina.
- Blocks are cut to length, tongue-and-groove rabbeted, then tapped in with a soft mallet.
- Any height discrepancy under 0.5 mm disappears during the 120-grit finishing pass.
Proper infill seamlessly supports the visual rhythm essential to Restoring Classic Herringbone excellence.
6. Colour Decisions: To Stain or Not to Stain?
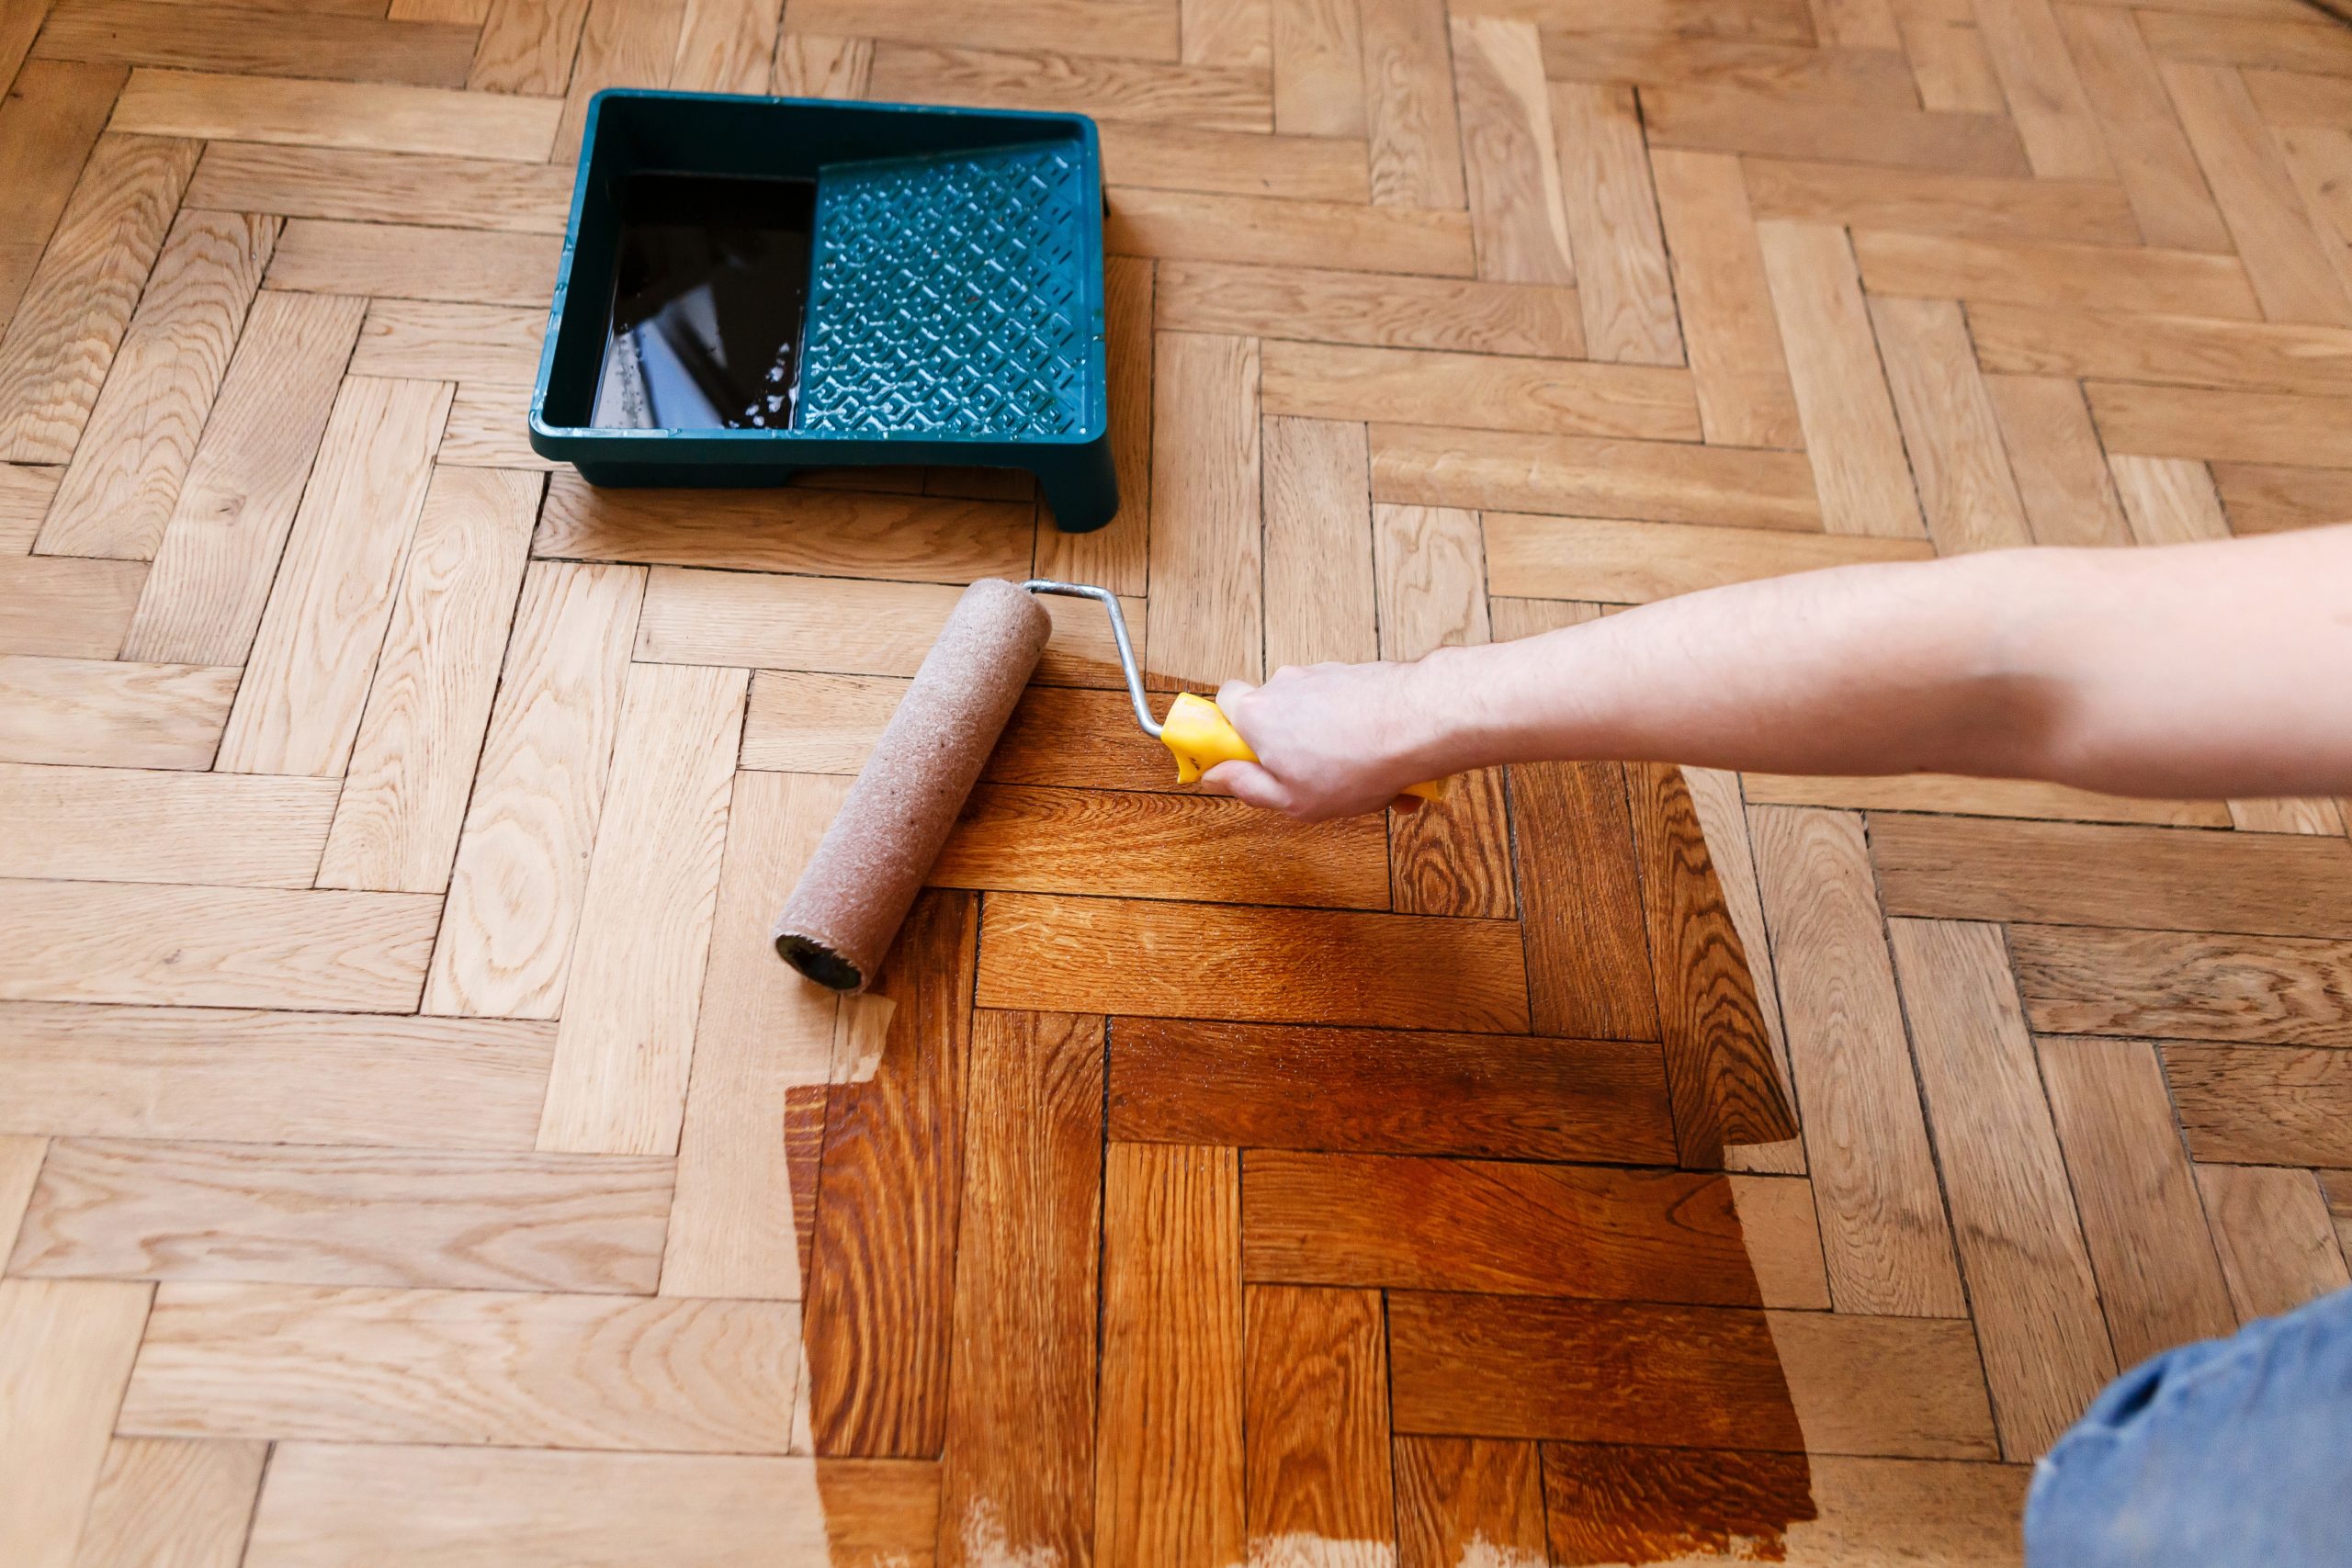
Freshly sanded oak reveals a honey-gold hue many homeowners adore. Yet interior trends shift toward Nordic blondes or deep espresso browns. When opting for stain:
- Water-based stains offer rapid drying and low odour, but raise grain—so a light de-nibbing with maroon pad is compulsory.
- Solvent-based dyes penetrate deeply, ideal for high-traffic pubs or galleries.
- Reactive treatments (e.g. lye or ammonia fuming) create unique tones by altering tannins but demand precise neutralisation.
Test patches under skirting-board offcuts before full commitment. Re-sanding a botched stain wastes both money and millimetres of precious wear layer.
7. Choosing the Optimal Finish
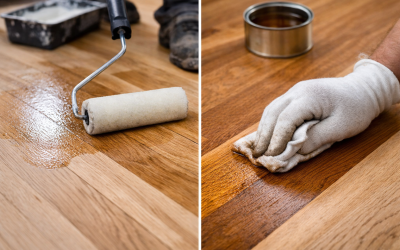
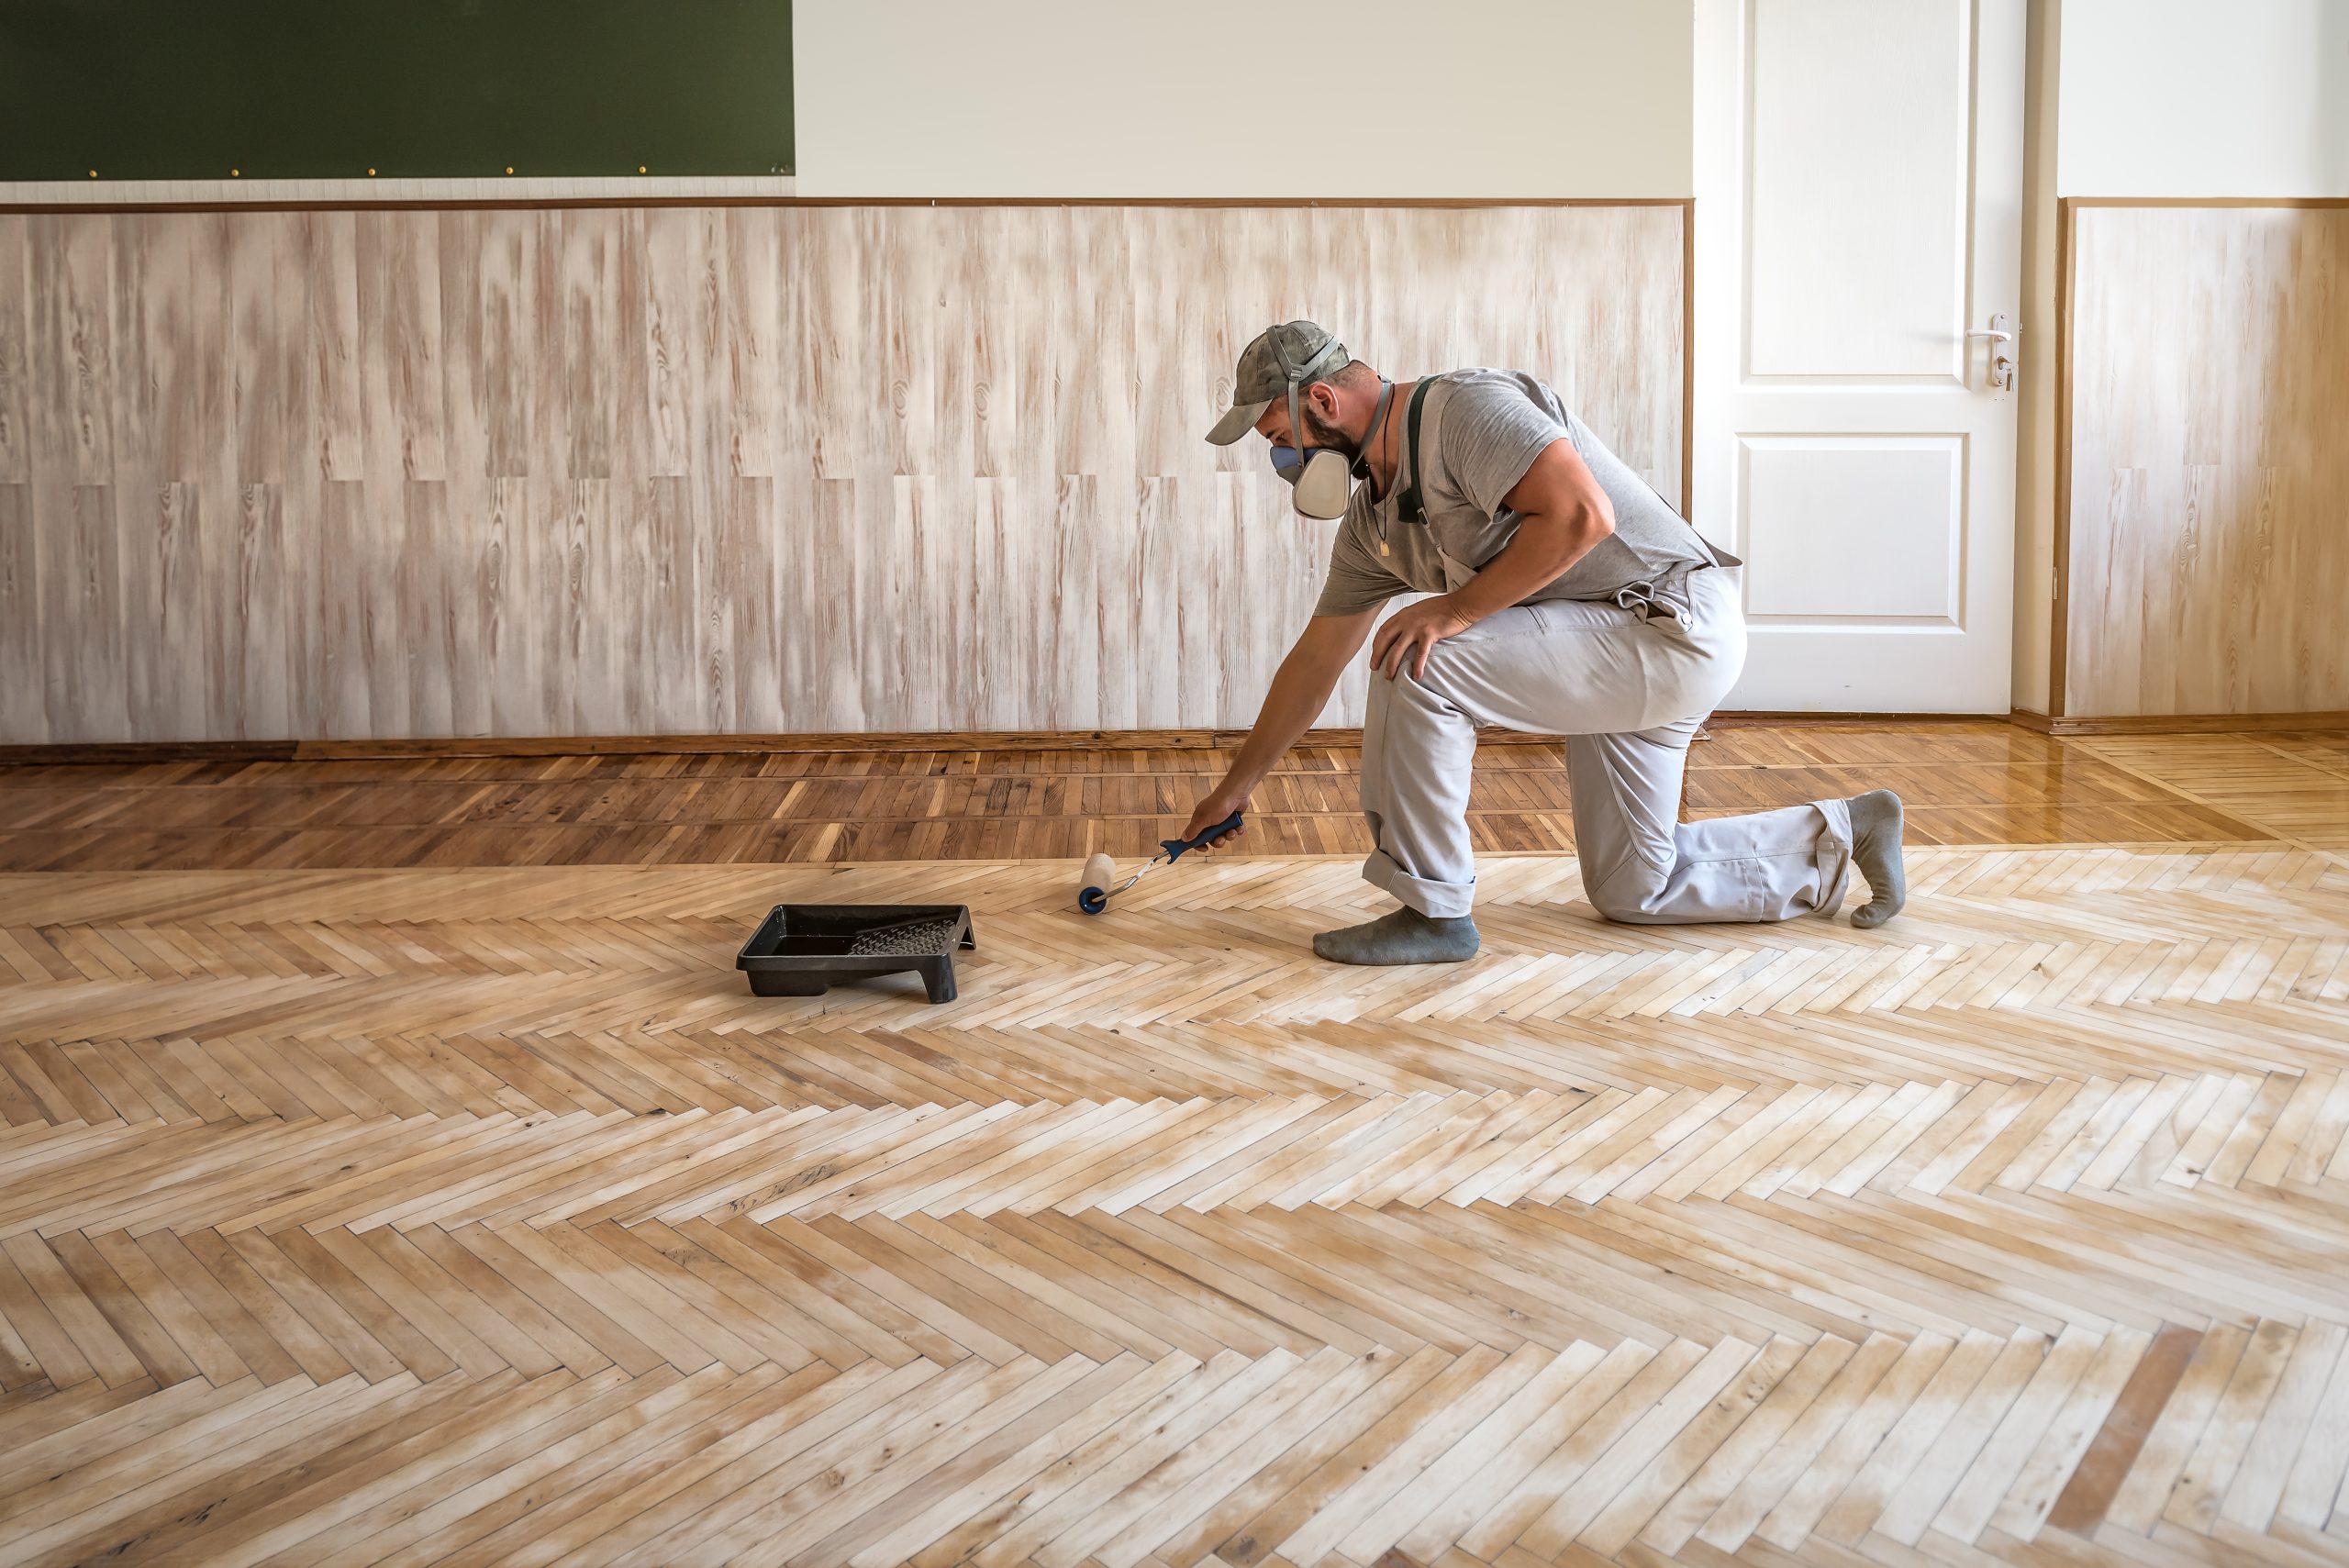
The choice between lacquer and hardwax oil usually comes down to sheen preference and maintenance philosophy.
| Attribute | Two-Part Waterborne Lacquer | Hardwax Oil |
|---|---|---|
| Durability | 2-component formulas resist scratches for 10–12 years | Micro-porous but softer; refresh coats every 3–5 years |
| Appearance | From ultra-matt to high-gloss | Natural, low-sheen “raw timber” look |
| Repairability | Local repairs tricky; often a full resand required | Local spot repairs blend invisibly |
| VOC Content | < 5 g l⁻¹ | ~ 0–2 g l⁻¹ (depends on brand) |
Many Rainham families choose hardwax oil for its breathable finish that complements the hygroscopic nature of oak. Commercial venues lean toward lacquer for heavy footfall resistance. In both cases, final coats must be applied in dust-free conditions to uphold the flawless standard of Restoring Classic Herringbone craftsmanship.
8. After-Care: Habits That Preserve Perfection
A newly finished floor is only as good as the habits that follow.
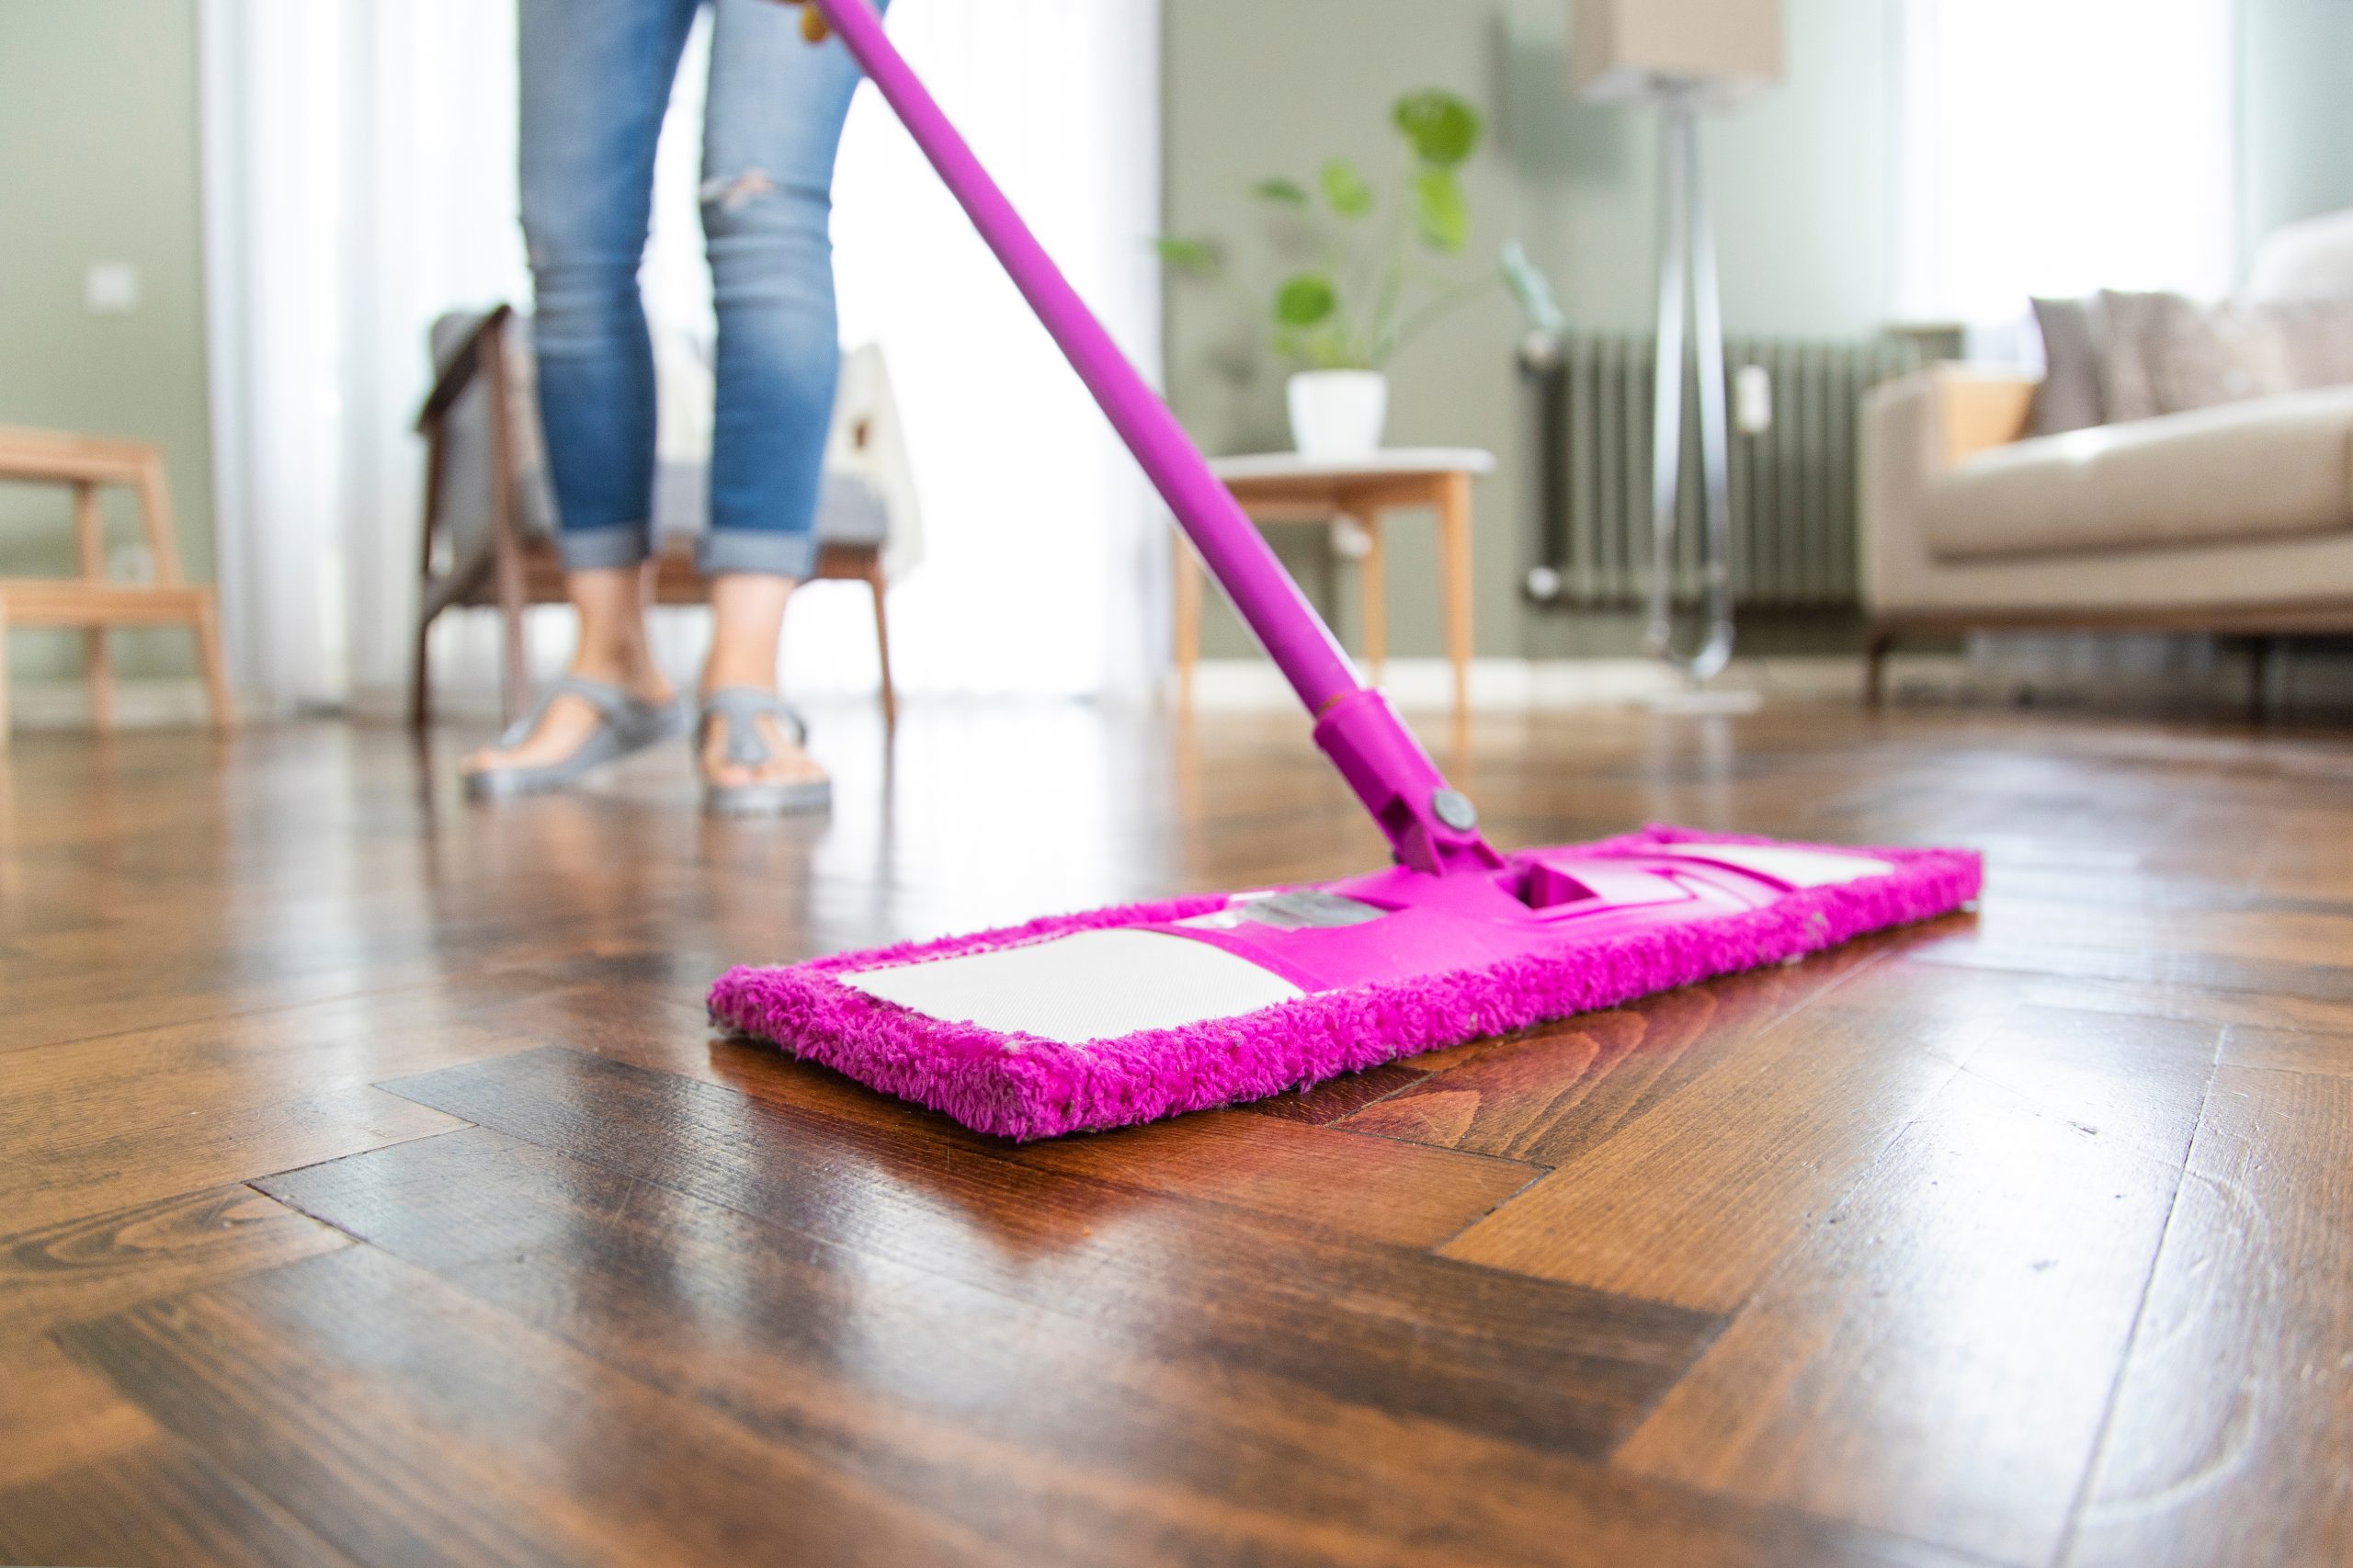
- Felt pads on furniture—replace quarterly.
- Door-mat system—coarse external mat + absorbent internal mat captures 80 % of grit.
- pH-neutral cleaners—avoid supermarket soaps that leave dulling residue.
- Relative humidity control—use a humidifier in winter to keep levels above 40 %.
With minimal effort, the lustre achieved through Restoring Classic Herringbone endures for decades.
9. Pitfalls to Dodge: Lessons from the Sanding Front Line
- Skipping grits
Jumping from 40-grit straight to 120 saves time today, but swirl marks will haunt you forever. - Over-sanding edges
Holding the edger in one place for an extra second creates a dish that the eye immediately catches. - Ignoring seasonal movement
Filling gaps too rigidly in July’s humidity leads to compression ridges come January. - Rushing between coats
Touch-dry isn’t cure-hard. Wait manufacturer-specified intervals or footprints will imprint.
Avoiding these mis-steps is as integral to Restoring Classic Herringbone as the sanding itself.
10. Sustainable Considerations
Timber already in place is the greenest floor you’ll ever own. Refinishing consumes a fraction of the embodied carbon in new boards. Use low-VOC finishes, recycle abrasive belts where possible, and choose local reclaimed blocks for repairs to minimise transport miles. Clients increasingly ask for sustainability credentials; demonstrating eco-responsible methodology adds persuasive power to any quotation.
Conclusion: Reclaim the Grandeur Underfoot
Parquet speaks the language of heritage, craftsmanship, and understated luxury. When age dulls its conversation, the answer is neither carpet nor laminate camouflage but professional Restoring Classic Herringbone. Through diligent assessment, meticulous preparation, tailored sanding sequences, and finishes that suit lifestyle as much as décor, you revive more than timber; you restore a home’s character.
Ready to let your floors tell their story again? Contact Rainham Floor Sanding for a free, dust-free consultation and step back onto parquet that dazzles, delights, and endures.